Text Sprites for Scratch Projects

In this lesson, we are creating text sprites for use in Scratch projects. The Sprite and Backdrop design tools in Scratch are basic. Scratch has some tools to create basic shapes, drawings, and text. The text option has a handful of fonts. If we want some text with different fonts we need to go to other applications. That is the focus of this lesson.
Many applications are capable of creating text for use in Scratch. My focus is on text tools that support SVG export.
I prefer Scalable Vector Graphic, SVG because they look better and provide some benefits when imported into Scratch. One of the benefits is that we can manipulate the fill and border color.
The tool chosen for this lesson is based on three criteria. The tool must be easy to use. It must be online. Finally, it must be free.
The tool we are using in this lesson comes from Vecteezy at vecteezy.com. The tools in Vecteezy are easy to use. It exports images and text in the SVG format. The text tool many font choices.
Resources
Use the link below to get the basic Scratch project; make a copy of it. This is a base project from which we are developing an overall project.
https://scratch.mit.edu/projects/480221619
Vecteezy
Open another tab in your browser and go to vecteezy.com. Vecteezy is free and offers a free account. Vecteezy integrates with Google and Facebook login services. I encourage you to create a free account. In this way, you will be able to save projects for later.
Click the Start Designing button.

Vecteezy generates and displays a sample illustration with each new project.

Click the File menu option and select Clear.

Click the Type tool.

Double-click on the canvas to get a text box.

Drag the lower right resize handle to enlarge the text box.

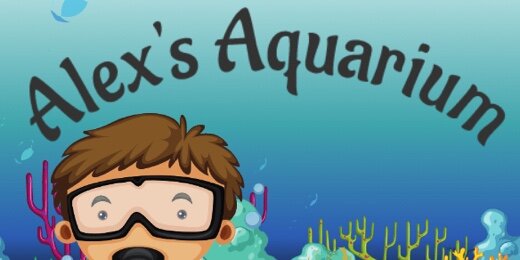
Click once inside the text box and type “Alex’s Aquarium”.

Click once outside the text box to exit edit mode.

The font options are in the Typeface section. The default font is Open Sans.
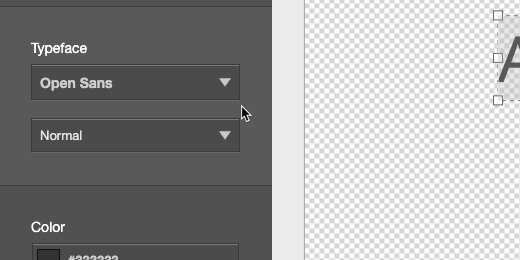
Click the font selector and choose the Aladin font. This is my choice; you can choose any font you want.

This is the text for our project; nice and simple. We will come back and do more later. Place the text box as close to the center of the canvas as you can. This will make it easier to work with when imported into Scratch as a Sprite.

Click File and select Save for Later.

Close the confirmation message. Click File and select Download SVG. The file is downloaded to your computer. Make sure you remember where it is.

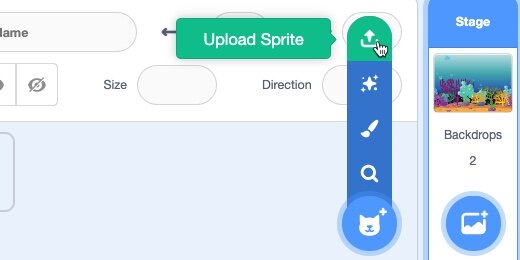
Switch to the Scratch project tab. Hover over the create Add Sprite button; select Upload Sprite.
The SVG file is probably named “Untitled”. Vecteezy was still in Beta when I created this lesson. They might have fixed this issue by the time you are working through the lesson.
Select the SVG file and click Open. Click in the Sprite name field. Change the name to “aquarium banner”.

Select the Costumes tab.

The text should be somewhere near the center of the Sprite canvas. Move the text and align it to the center of the canvas. Use the center guide to help you align the text.

Position the sprite on the stage. Place it above the diver's head and center it on the stage.

Formatting the text
Return to the Costumes tab; select the vector text. Click the Fill color selector. Move the Saturation and Brightness sliders all the way to the right.
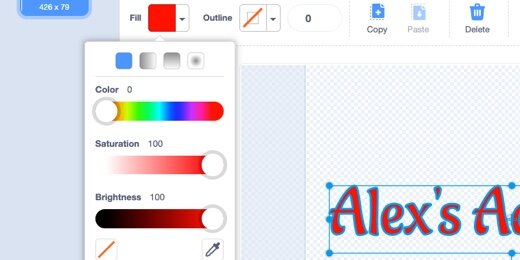
Move the color slider to select a color. Select any color you want. Mine is light green. Click away from the color selector to apply the color.

The text color updates on the stage.

Neon banner
We can use the Scratch tools to create some interesting effects for the banner. Let’s give the banner a neon glow.
Set the costume name to Costume1.

Right-click on the costume thumbnail; select the duplicate option.

Select the text box in Costume2.

Change the Outline width to 5.

Click the Outline color selector. Choose a lighter version of the color chosen for the text. Move the Saturation slider to the left to get a lighter color from the original. Click away from the color picker to apply the changes.

Look at the effects on the stage. The text should have a border around each letter.

Neon effect
Select the Code tab. Place a Forever loop from the Control section on the stage.

Go to the Looks section; place the —Next Costume— code block inside the loop.

Return to the Control section; place a —Wait 1 second— block after the —Next Costume— block.

Click the Forever loop to run the instructions.

The banner on the stage will cycle through the costumes. This gives the illusion of a neon sign.

Arch banner
Return to the Vecteezy tab. Move the Line Curve slider to the right. Set the value to 55.

The text curves into an arch. Export this text box as an SVG.

Return to the Scratch project tab; import the text box as a Sprite. Set the name of the sprite to Arch Banner.

Open the Costumes tab. Center the text box on the canvas.

Return to the Sprites section. Select the “aquarium banner” Sprite; click the Hide button.

Move the Arch Banner above the diver and center it on the stage.
Now you have an extra tool at your disposal to create nice stage elements for your projects.